If you have observed that your vehicle’s performance has declined, such as decreased fuel efficiency, uneven idling, or slow acceleration, the cause could be your mass air flow sensor. Luckily, changing a MAF sensor is a typical maintenance job that can be done by several automobile owners with proper instructions.
The cost is generally affordable, with an average price of approximately $140, although there may be variations that are considerably higher or cheaper. When the time comes to replace it, this tutorial will assist you in understanding the significance of changing, testing, and calibrating a MAF sensor, so you can enhance your vehicle’s performance.
Comprehending the Mass Air Flow Sensor
The mass air flow sensor, sometimes known as the MAF sensor, is a component of your car’s engine management system. The main purpose of this device is to calculate the quantity of air that goes into the engine. This information is important for the Engine Control Module (ECM) to decide the correct amount of fuel to inject into the combustion chamber. This ensures that the fuel-air mixture ratios are optimal, resulting in a well-functioning engine.
Usually, it contains two detecting wires. One wire is heated while the other wire remains unheated, with the unheated wire serving as a reference. As air flows over the wires, the wire that is heated cools down, and the alteration in the electrical current going through it is gauged, and the current is modified to increase the heat of the wire. This figure is utilized to ascertain the amount of air flowing through the sensor.
Prior to beginning the repair procedure, it is crucial to recognize the indications of a malfunctioning MAF sensor. Typical indications consist of:
Reduced fuel efficiency.
If you notice that you are stopping at the gas station more often, a defective MAF sensor can be to blame.
Unsteady engine operation. An unsteady or uncertain idle can occur due to an inaccurate air-fuel combination caused by a faulty MAF sensor. Your engine may also stop running.
Slow acceleration.
Slow or not very sensitive acceleration, especially when you suddenly press the throttle, can be a clear indication.
Engine Warning Indicator.
An illuminated Check Engine Light paired with diagnostic trouble codes associated with the MAF sensor, such as P0101, strongly suggests a problem.
Remember that these symptoms are not just associated with the MAF sensor, thus it is crucial to thoroughly diagnose it before replacing any parts.
Tools and Equipment Required
Before starting the replacement operation, collect the essential tools and supplies:
Tool kit for sockets
Hand tools used for turning screws are called screwdrivers.
A tool used to apply a specific amount of force to tighten or loosen bolts or nuts.
Protective equipment
Brand new MAF sensor Diagnostic code reader
Choosing the appropriate substitution
The MAF sensor is crucial, else, it won’t be compatible with your intake or function properly. Make sure it is compatible with the make, model, and engine type of your car. To avoid having to replace it again in the near future, select one that has a high rating and is associated with a reputable brand.
Changing the Mass Air Flow Sensor
This job is not too complex and may be completed by a do-it-yourselfer without a significant time commitment – at least, for the majority of typical vehicles. Although the specific procedure may vary depending on the model, these are the general instructions.
Avoid issues.
Begin by disconnecting the car’s battery to prevent any electrical accidents while replacing it.
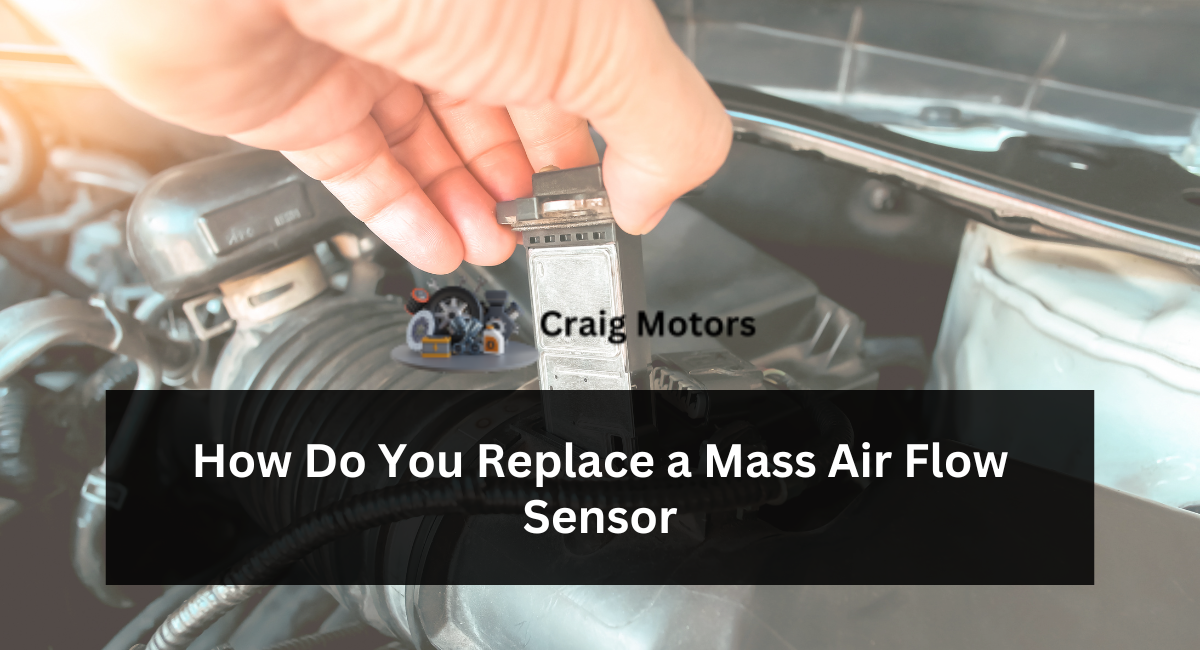
Find the MAF sensor. The component is usually located between the air filter housing and the throttle body, and it has a cylindrical shape. Consult a service manual if you are uncertain.
Unplug electrical connections.
Gently detach the electrical harness from the MAF sensor. A screwdriver may be necessary to detach the clips.
Take out the sensor.
Depending on how your car is built up, you might have to take out screws or clamps that are keeping the sensor in position. Usually, there is an air duct connected by a huge hose clamp on each end, but yours may be different.
Set up the new sensor.
Install the new MAF sensor and fasten it using the same bolts that were removed along with the old part.
Reestablish electrical connections.
Connect the wiring harness to the new MAF sensor.
Reattach the battery.
Reattach the battery to regain power.
Remove the codes.
Please connect your code reader and delete the codes.
To ensure the job is done properly, please verify that all connections and fasteners are securely tightened. Adhere to the torque specifications provided by the manufacturer while tightening screws or clamps, if they are given. Additionally, please handle the replacement MAF sensor with care to prevent any potential damage, as the wires inside may be delicate.
Experiment
After replacing the MAF sensor, it is important to confirm that it functions correctly. Begin your car by connecting your code reader and monitor its performance using the live data feature, if available on your tool. If the symptoms have gone away and the Check Engine light doesn’t come back, you’re in fine condition.
In certain situations, MAF sensors may need calibration. The technique can differ significantly, and you may need to search for an internet resource such as ALLDATA or YouTube tutorials to accomplish it. Otherwise, go to a mechanic to finish the calibration.
Prevent these Errors
Although it is a simple task, mistakes can occur if the necessary stages are not followed. It is recommended to always disconnect the batteries to prevent electrical accidents. Using incorrect tools may cause damage to components or lead to erroneous installation.
Ignoring sensor calibration might result in imprecise measurements and problems with performance. If you experience issues following the replacement of the MAF sensor, such as ongoing warnings from the Check Engine Light, it would be advisable to have a reliable professional inspect it for an accurate assessment.
Conclusion
Replacing a mass air flow sensor demands attention to detail and caution. With the right tools and following precise steps – disconnecting the battery, locating and removing the sensor, installing the new one correctly, and resetting the system – you can successfully replace it. However, if unsure, seeking professional guidance or assistance ensures proper installation, preserving your vehicle’s performance and efficiency.
Leave a Reply